


I wanted to get a flavour of Ubuntu (Linux) as in project setup in the industry the servers obviously runs on Linux OS. I don’t want to have dual boot as it reduces the disk space and every time if I want to use the other OS, I have to restart and use it. Hence, I feel installing WSL is the easy way.
I have figured out the steps to be successful in getting GPU support in Tensorflow.
I am a Senior Machine Learning Engineer who loves to work in Tensorflow. For self learning and implementations, I use my personal laptop. It is a gaming laptop which I had bought in 2020 and it has a descent GPU (NVIDIA RTX 2060 6 GB graphics RAM), i7 as the processor and has 16 GB of RAM. It is quite a fast one and it comes with Windows Home Edition installed in it.
I wanted to get a flavour of Ubuntu (Linux) as in project setup in the industry the servers obviously runs on Linux OS. I don’t want to have dual boot as it reduces the disk space and every time if I want to use the other OS, I have to restart and use it. Hence, I feel installing WSL is the easy way. After researching in the internet and spending couple of hours, I have figured out the steps to be successful in getting GPU support in Tensorflow.
Note: Please make sure you have Windows 11.
Steps for installing WSL
Reference: https://docs.nvidia.com/cuda/wsl-user-guide/index.html
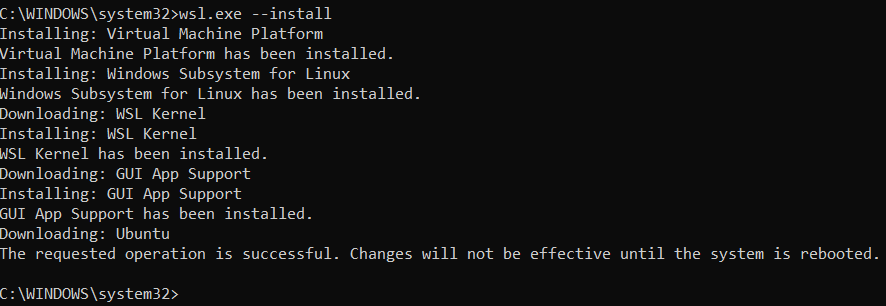
1. Launch your preferred Windows Terminal / Command Prompt / Powershell and install WSL:

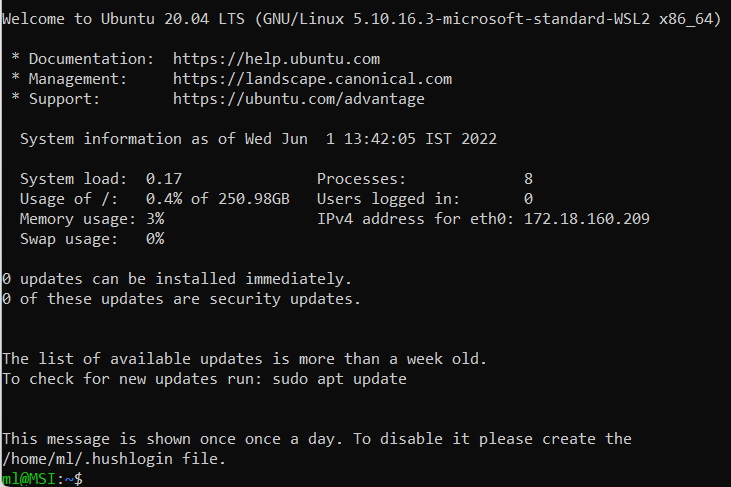
2. After restarting the system, Ubuntu will automatically get installed. You have to provide a username and password.

3. After providing the username and password.
4. sudo apt update


Miniconda setup file will be downloaded.

6. Run the setup file.
sh Miniconda3-latest-Linux-x86_64.sh

Press Enter and accept the licence terms wherever necessary.
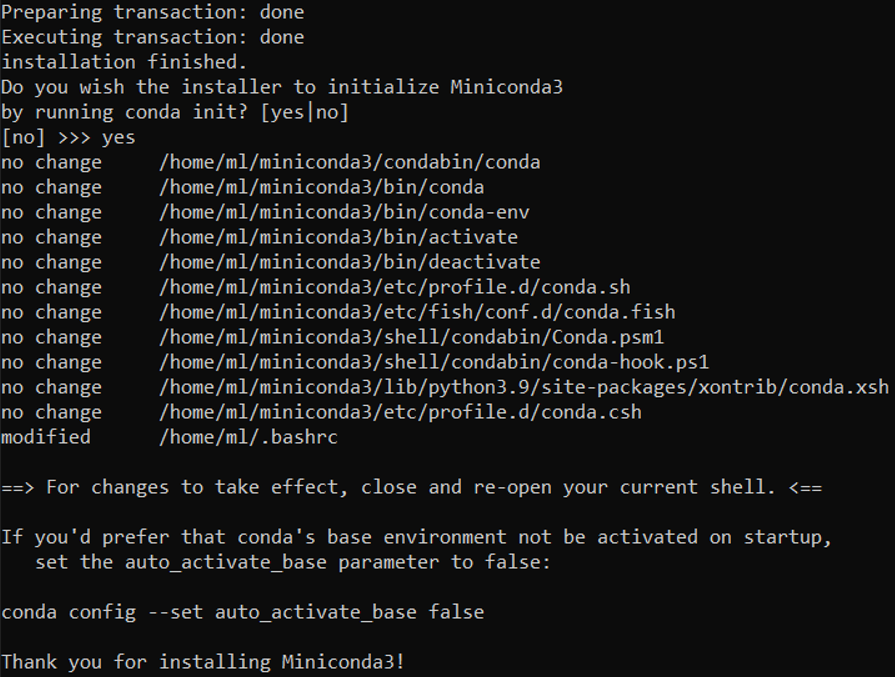
Type yes for running conda init when prompted.

Miniconda will be installed.
7. Note: After re-opening the shell, run the below command otherwise whenever Ubuntu app will be opened the base environment will be activated automatically.
config — set auto_activate_base false

8. conda deactivate

9. conda config — set auto_activate_base false

10. Create a new environment.

11. Activate the new env
conda activate tf

tf activated

12. pip install jupyterlab
13. jupyter lab

Copy the url and paste it in a browser to open jupyterlab.
14. Open another Ubuntu terminal and activate tf environment.
conda activate tf
15. Then, we have to install the kernel to be shown in notebooks.
ipython kernel install — user — name=tf

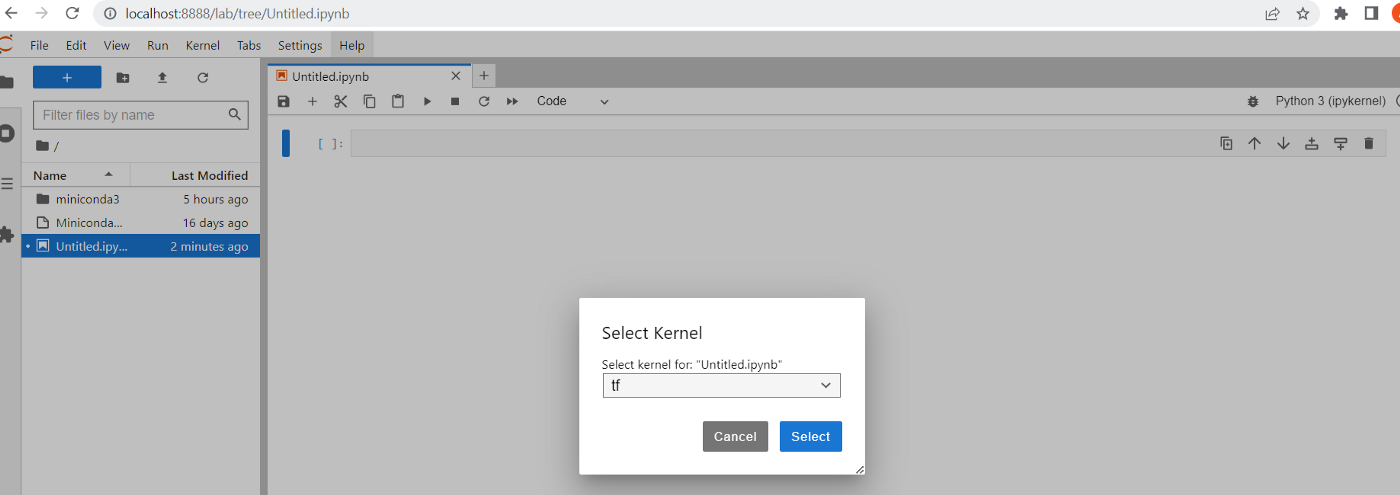
16. After refreshing the Jupyter lab in the browser you can see the tf kernel. Select it.
1. Ensure that you have the latest NVIDIA Game Ready Drivers already installed in Windows. No need to install the driver in WSL.

2. Configure the system paths. You can do it with following command everytime your start a new terminal after activating your conda environment.
However, for your convenience, it is recommended automating it with the following commands. The system paths will be automatically configured when you activate this conda environment.
3. Deactivate and activate the virtual environment tf.
4. Open jupyter lab
Voila! Now, we can see it is showing True which means Tensorflow can use GPU. Great!

Dont worry about the message “Your kernel may have been built without NUMA support.” It might be some issue in WSL and can be ignored.
Congratulations! Play with Tensorflow and utilize your system’s GPU. Happy learning!
References
CUDA on WSL :: CUDA Toolkit Documentation
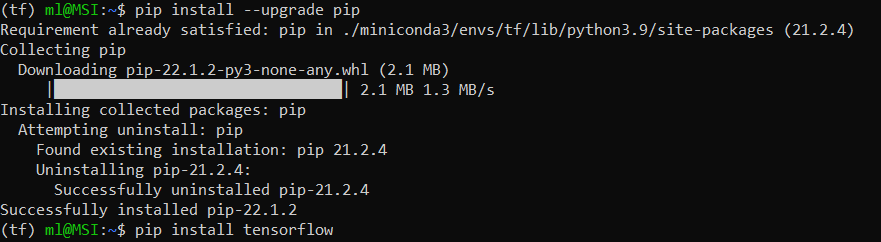
Install TensorFlow with pip
I hope you have found this tutorial helpful. Please feel free to write comments if you have any.
Share with your friends and followers
Start blogging about your favorite technologies, reach more readers and earn rewards!
Join other developers and claim your FAUN account now!


Only registered users can post comments. Please, login or signup.