


In this tutorial, we will create a basic Flask web application that returns a “Hello Medium” message when calling the application from the browser.
I’ve searched for a quick guide on how to deploy a Python Flask app on any PaaS provider and I didn’t find a quick one, so I decided to create one on Heroku 😁
In this tutorial, we will create a basic Flask web application that returns a “Hello Medium” message when calling the application from the browser.
Prerequisites
We will start with creating a basic Python web application using the Flask web framework. We need to create a Python script (app.py) to contain the application code as shown below:
app.py
This application consists of one route and it’s the default route http://localhost:5000/
Flask does not have a WSGI HTTP Server, so for this tutorial, we will use the most common library Gunicorn. For this, we will create a new wsgi.py file.
wsgi.py
You can now run wsgi.py locally and see the outcomes.
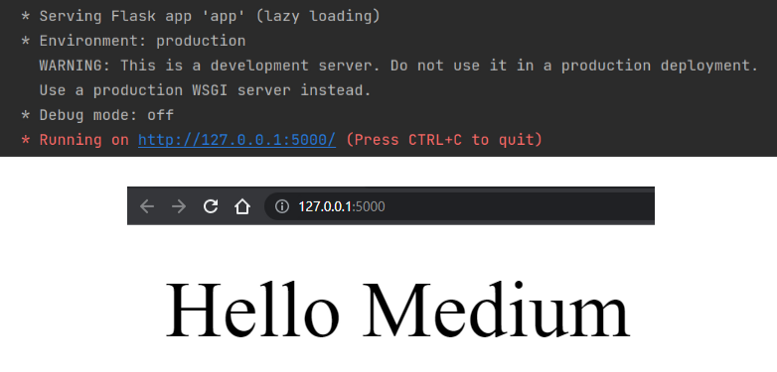
At the top, a screenshot of our application output, at the bottom, using a browser to communicate with our app.
Now, that we are all done with the application development, we can migrate our application from local to remote using Heroku and Git.
Migrating our Application to Heroku
Creating a Heroku Application
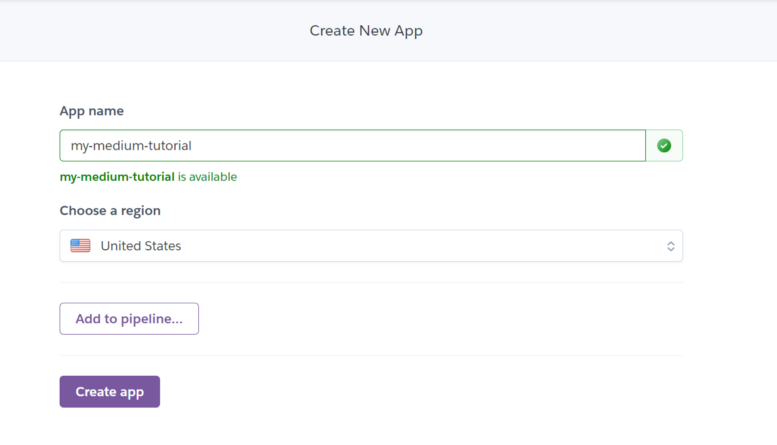
Start with log in to your Heroku account, then click on the New → Create new app

Give your application a name and choose where to host your app, then click on Creat app
Creating a Procfile
A Procfile is a file that specifies the commands that are executed by the app on startup. We need to create a Procfile next to app.py and wsgi.py as shown below.
Procfile
So far, our project contains 3 files
app.pywsgi.pyProcfile
Login to Heroku via CLI
To use any Heroku CLI command we will first need to log in by using the following command:
You’ll be prompted to enter any key to go to your web browser to complete the login.
Making our project a Git repository
We must make our project a Git repository in order to push our project to Heroku servers.
Open a terminal and change the current directory to the project’s root directory, then run:
Then we need to add a new remote (Heroku remote) to our repository.

Last but not least, create a short commit and push our project to Heroku.
Now, all we have to do is watch the magic in action, go back to our Heroku application and watch our application being built by Heroku servers.
Go to the dashboard Overview tab and look at the bottom right Latest activity

After Heroku finishes building the application, go to the Settings tab and search for the Domains section, there you will find the URL to your remote web application

I’d love to hear your thoughts about this, so feel free to reach out to me in the comments below!
— If this article helped you in any way, consider sharing it with 2 friends you care about.
Till then stay alive.
Share with your friends and followers
Start blogging about your favorite technologies, reach more readers and earn rewards!
Join other developers and claim your FAUN account now!

Deep S
Digital Creator and Blogger., Pythonians Technology
@pythonians


User Popularity
16
Influence
2k
Total Hits
1
Posts

Read, Learn, Know, Teach
Hand curated newsletters for Developers, private Slack with like minded people, podcasts, job offers, news and more!

Only registered users can post comments. Please, login or signup.