Join us
@maddiefitz ・ Jan 09,2022 ・ 2 min read ・ 3k views ・ Originally posted on faun.pub


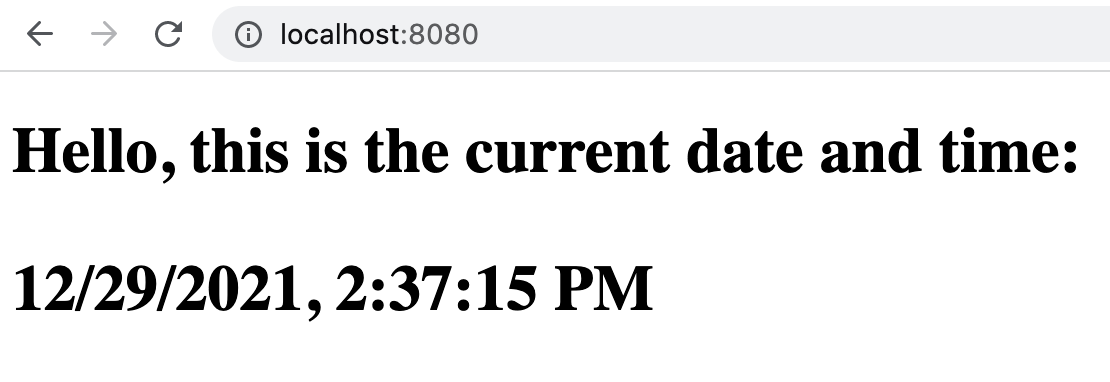
In this tutorial, I am going to be creating an image with a file that will tell you the time of day the container has been deployed using Nginx.
Introduction
In this tutorial, I am going to be creating an image with a file that will tell you the time of day the container has been deployed using Nginx. I am also going to show you how to push your container to AWS’s Elastic Container Registry. This tutorial assumes that you have a Docker account and an AWS account.
Creating Your Container
The first command you need to use is, docker pull nginx:latest this will pull the latest version of the Nginx image from Dockerhub. The next thing we need to do is create a folder for our files to go, mkdir <directory_name>. Once you make your directory, change into the directory cd <directory_name> and create a file for your code touch <file_name>.
Once you have created the directory and the file, use your text editor to go into and edit the file you created. I like to use vim but you can use whatever you want vim <file_name>. This is the file that we are going to use to store our code for the program we want to create. As I said before, I am going to be creating a container that will show the date and time it has been deployed. This is the code that I used to fulfill that requirement.

The next thing we are going to do is deploy our container with port 8080 open. To do that, we use docker run -d -p 8080:80 -v ~/nginx-html:/usr/share/nginx/html — -name <your_nginx_name> nginx.

Verify the container creation with docker ps.

You can see your port by going to a browser and typing in http://localhost:8080
Pushing Your Container to the ECR
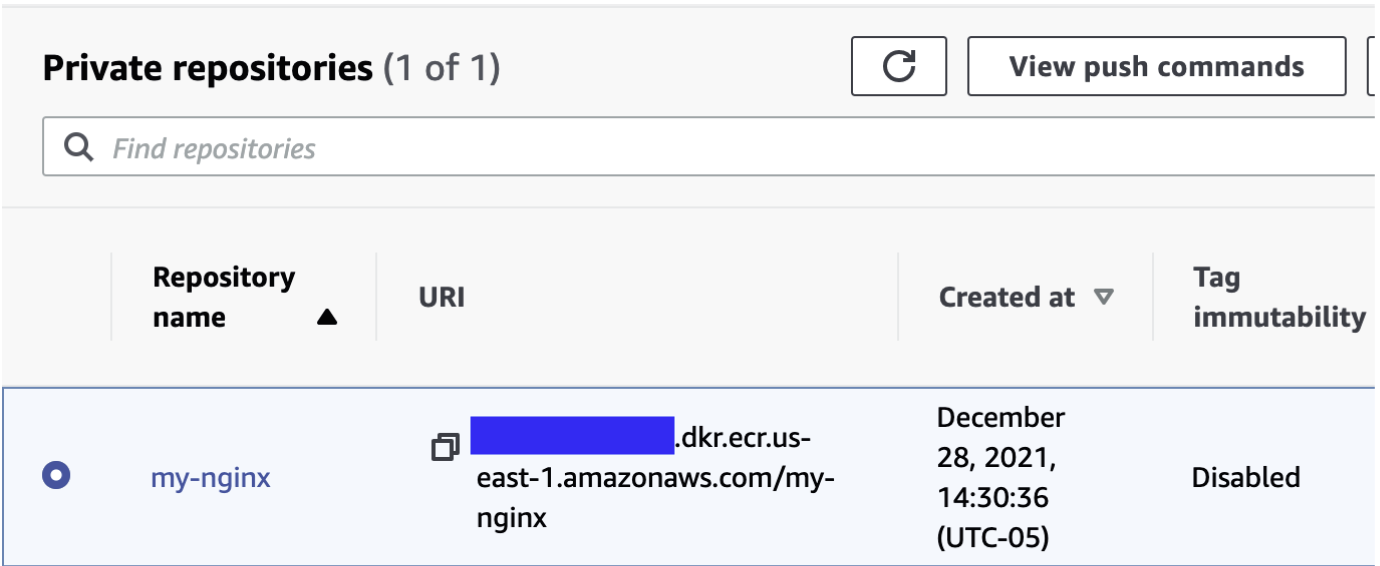
Now that we have finished creating our container, it is time to share it to Amazon’s Elastic Container Registry. To do that you need to first head to the AWS console. Once in the console, go to the search bar and search for the Elastic Container Registry. Click “create repository”.

You don’t really have to change any of the settings for this. The only thing you have to do is create a repository name. Once you have created your repository, select the repository and select “view push commands”
After you click that, Amazon should show this screen which tells you what commands to use from this point forward. Because we created our container already we actually don’t want to follow these commands exactly as they are. We do step 1 and skip step 2. Once you get to step 3, you may need to modify the command a bit. Use the command docker ps to see what the image that you want to push is called (under IMAGE not NAME).


Modify the command in steps 3 and 4 by taking out the name of the repository that you made in the AWS console and inserting the image name that you retrieved from the docker ps command. This is what my new commands looked like after I fixed them.

And with that, we have created our Nginx container, created a program that will display the date and time the container is deployed, and pushed our container to Amazon’s ECR.
Share with your friends and followers
Join other developers and claim your FAUN account now!
Influence
Total Hits
Posts

Hand curated newsletters for Developers, private Slack with like minded people, podcasts, job offers, news and more!


Only registered users can post comments. Please, login or signup.