Stop wasting time on messy bug reports — use a bug template to bring order and speed to your tracking process. Bug tracking can get chaotic without a clear process. Inconsistent reports lead to confusion, delays, and frustration for QA teams and developers.
A bug template in Jira solves this problem by standardizing how bugs are reported. It saves time, keeps teams aligned, and prevents critical details from slipping through the cracks.
Paired with Smart Templates and Smart Checklists, creating and maintaining bug reports becomes a seamless experience. These tools help your team log issues faster, track progress easily, and focus on solving problems, not chasing details.
Ready to bring structure to your bug reporting? Let’s explore how templates and checklists can transform your process.
What is a Bug Template in Jira?
A bug template is a structured format used to document and track bugs consistently. It ensures all critical details are captured, helping QA teams and developers resolve issues faster.
Instead of writing reports from scratch every time, a template provides predefined fields and guidelines. This guarantees that no essential information — like steps to reproduce, actual results, and environment details — is left out.
How to Create a Customizable Bug Template in Jira
Using Smart Templates for Jira, you can create reusable bug templates that save time and improve accuracy. Templates streamline bug reporting, so your team spends less time on admin work and more on fixing issues.
Step-by-Step Guide to Creating a Bug Template in Jira
Setting up a reusable bug template in Jira is straightforward with the right tools. Follow these steps to improve workflow and bring consistency across your projects:
Step 1: Install Smart Templates
Start by downloading the Smart Templates from the Atlassian Marketplace. This tool helps you create issue templates in Jira and reuse them for similar tasks.
Note:Admin permissions are required to install apps. If you don’t have admin access, ask your Jira Administrator for assistance.
Note: Admin permissions are required to install apps. If you don’t have admin access, ask your Jira Administrator for assistance.
Step 2: Create the bug report from issue in Jira
- Open Jira and navigate to your board.
- Create a new ticket using the Bug issue type.
- Fill out the description field with your predefined bug report format.
Use the following format to make your template description comprehensive and concise:
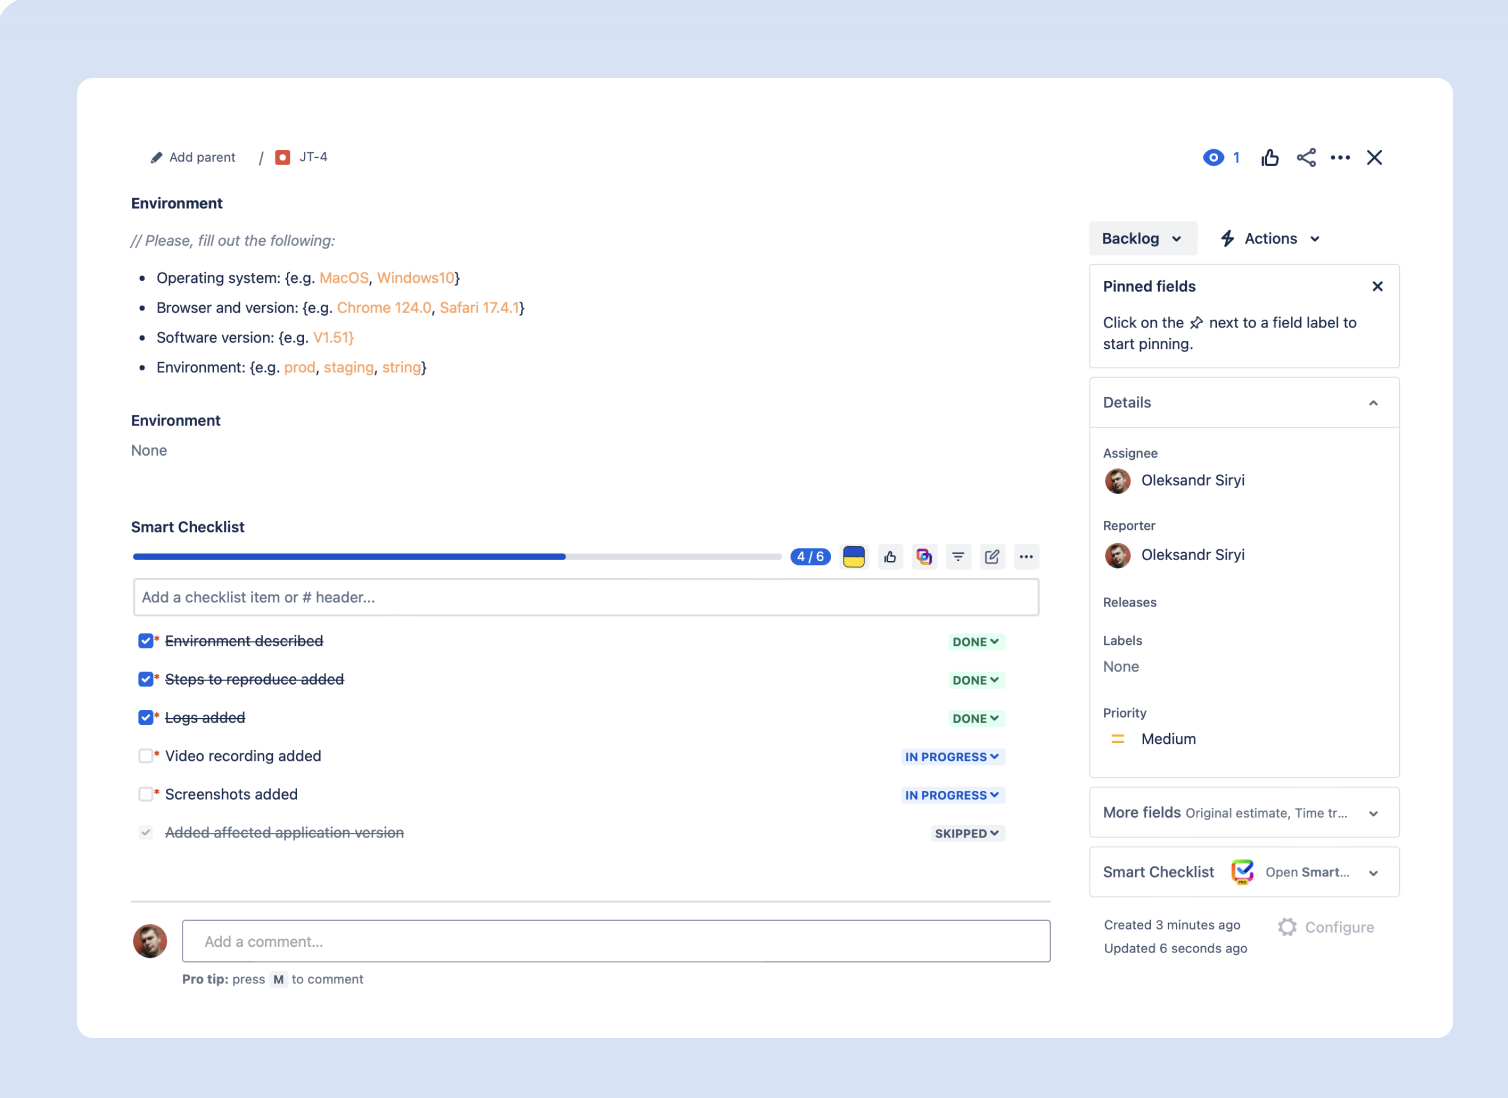
Bug Report Description
- Summary: Provide a brief description of the issue.
- Environment: Specify critical details such as:
- Operating System (e.g., MacOS, Windows10)
- Browser and version (e.g., Chrome 124.0, Safari 17.4.1)
- Software version (e.g., V1.51)
- Environment (e.g., Production, Staging, Testing)
- Steps to Reproduce: List the actions that lead to the bug, step-by-step.
- Actual Results: Describe what happens when the bug is triggered.
- Expected Results: Explain how the functionality is intended to work.
You have to copy this information to the description field: