Join us
@devgru ・ Jan 14,2022 ・ 5 min read ・ 1455 views ・ Originally posted on medium.com
The Postgres implementation on the target project is part of a larger DB architecture which includes elements of MongoDB and DynamoDB. It’s only fair that I use a tool that scales easily with AWS.
Why Postgres?
Postgres offers the following:
Why not MySQL, Oracle, Sybase, SQL Server, etc? The Postgres implementation on the target project is part of a larger DB architecture which includes elements of MongoDB and DynamoDB. It’s only fair that I use a tool that scales easily with AWS.
There are lots of resources on the internet that offer objective and some (tiny) skewed opinions on Postgres vs the competition. Since we are not interested in joining the arguments for or against, I would suggest that you pick what works for the project at hand.
In my case, I go for scalability, cost and flexibility.
Assumptions and Prerequisites
https://www.docker.com/products/docker-desktop
It is also assumed that you have created a container from the official Postgres image on Docker Hub and created or made some changes to your DB. If you have not, run the command below to begin:
And then you may proceed to run the image, access the server you imported using a tool of your choice ( I recommend Eclipse with the DBeaver plugin or JetBrain’s DataGrip).
Create your database, add a few tables and some functions or stored procedures and we are set for the real deal. But first, let consider a few basics.
Why Use GitHub Container Registry?
For free accounts, Docker Hub imposes a limit of one private repository. There are other limitations on the pull threshold, access control, etc.
This tutorial will guide us in the exploration of the possibilities offered by Github’s Container Registry (we will be referring to this as GCR in this article).
The GitHub Container Registry improves how we handle containers within GitHub Packages. With the new capabilities introduced today, you can better enforce access policies, encourage usage of a standard base image, and promote inner sourcing through easier sharing across the organization. — GitHub
Anonymous access is available with the GitHub Container Registry and at the time of this writing, GCR is free and offers unlimited repositories for images.
Where some level of privacy and access control is required, GCR provides scoped access.
To better support collaboration across teams, and help our customers reinforce best practices for their releases, we’re also introducing data sharing and fine-grained permissions for containers across the organization.
By publishing container images with the organization, teams can more easily and securely share them with other developers on the team. And by separating permissions for the package from those for its source code, teams can restrict publishing to a smaller set of users, or enforce other release policies.
And there is more; with GitHub Actions, you can create workflows to automate the publishing process for GCR.
Okay, now we are set. Your Docker Desktop containers tab should look similar to this:
At this point, we have our Postgres Docker container on which we have made a few DB changes. This is where we start the process of pushing to GCR.
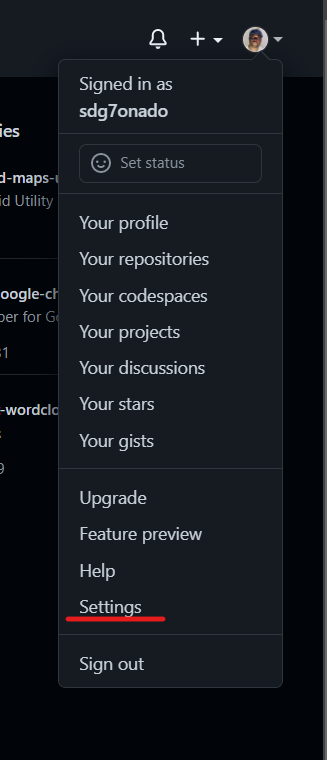
But not too fast. Let’s prepare our Github profile for what’s about to happen. First, we need to create a Personal Access Token (PAT).
Create a Personal Access Token
The PAT should be custom created for this purpose and its scope permissions should be on a need to have basis.
Select the read:packages scope to download container images and read their metadata.
Select the write:packages scope to download and upload container images and read and write their metadata.
Select the delete:packages scope to delete container images.
Click on Generate Token when you are done with the above steps.
Note the new token and save it in a safe place. This token will never be displayed on Github after now. If you lose it you may need to generate a new token.
Now let us proceed to the next step where we will be storing and using the PAT.
Store the PAT in an environment variable
With the PAT now created using the following command to set it to an environment variable. We will name this variable CR_PAT. I am using Windows 11 with PowerShell.
Now use the following commands to confirm the environment variable:
You should get a result similar to the following:
Hint: Using dir env: will list all environment variables on the system :-)
Run this on GIT Bash
Now return to Powershell and run the following command to list all our containers.
You should see a result similar to the following
Now using the CONTAINER ID from the last window run the following command:
This commits our container to a new image. The image will be sent to GCR in the next steps. You should get a result like this:
Run the following command to view all Docker images:
Great going! You now have a Docker image ready.
The next command tags the image in preparation for our push:
You may wish to run the docker images command again to view the status of your images.
Having confirmed the tag we now run the following command. Before this, please ensure that you have an active and stable internet connection.
The push command tells Docker to push the image to GCR. ghcr stands for GitHub Container Registry. sdg7onado is my Github ID and the last part is the image name and tag.
If everything went well you should see a window similar to this
That’s it!
You have pushed the image to Github’s Container Registry. If you followed the steps you should have viewed similar to this. Under the packages tab, you will find your brand new container image, ready to share with the rest of us earthlings.
Feel free to explore how to get your teammates to try pulling your image.
Join other developers and claim your FAUN account now!
Rython Devgru Limited
@devgruInfluence
Total Hits
Posts
Only registered users can post comments. Please, login or signup.