Join us

The MERN stack for beginners

1_cJlV4R3_D9wQpNq6daQYbg.jpeg

Here I will attempt to explain step-by-step, how to set up a MERN stack. This article is made for students in the Reykjavík Aca­demy of Web
Develop­ment but of course everybody is welcome to read it and use it as a source for their own projects. If you get stuck on any of the steps of this tutorial please let me know so that I can fix it and make it better.

What is the MERN stack?

The MERN stack is a technology stack for people who want to make a web application. MERN stands for MongoDB, Express, React and NodeJS. If you are using these technologies you are using the MERN stack. I will be using some other tools as well in this tutorial like VScode and Firefox but they are not a part of the stack. MERN is just one of many stacks that you can choose from when you are starting to develop your own web. It is particularly handy for people who like to be able to use JavaScript everywhere in their code base. Other popular stacks are for example the LAMP stack or .NET

Before we start

Before you can start you will need to make sure that NodeJS and yarn are installed on your system. You can do this by typing in the commands node --version if you see the letter v followed by some numbers separated by dots you have NodeJS installed if not, you will need to install it first here. After installing NodeJS you will have the default package manager called npm. In this tutorial I will be using a different package manager called yarn but it is easy to install it using npm by typing npm install -g yarn into the terminal.

Diving into it

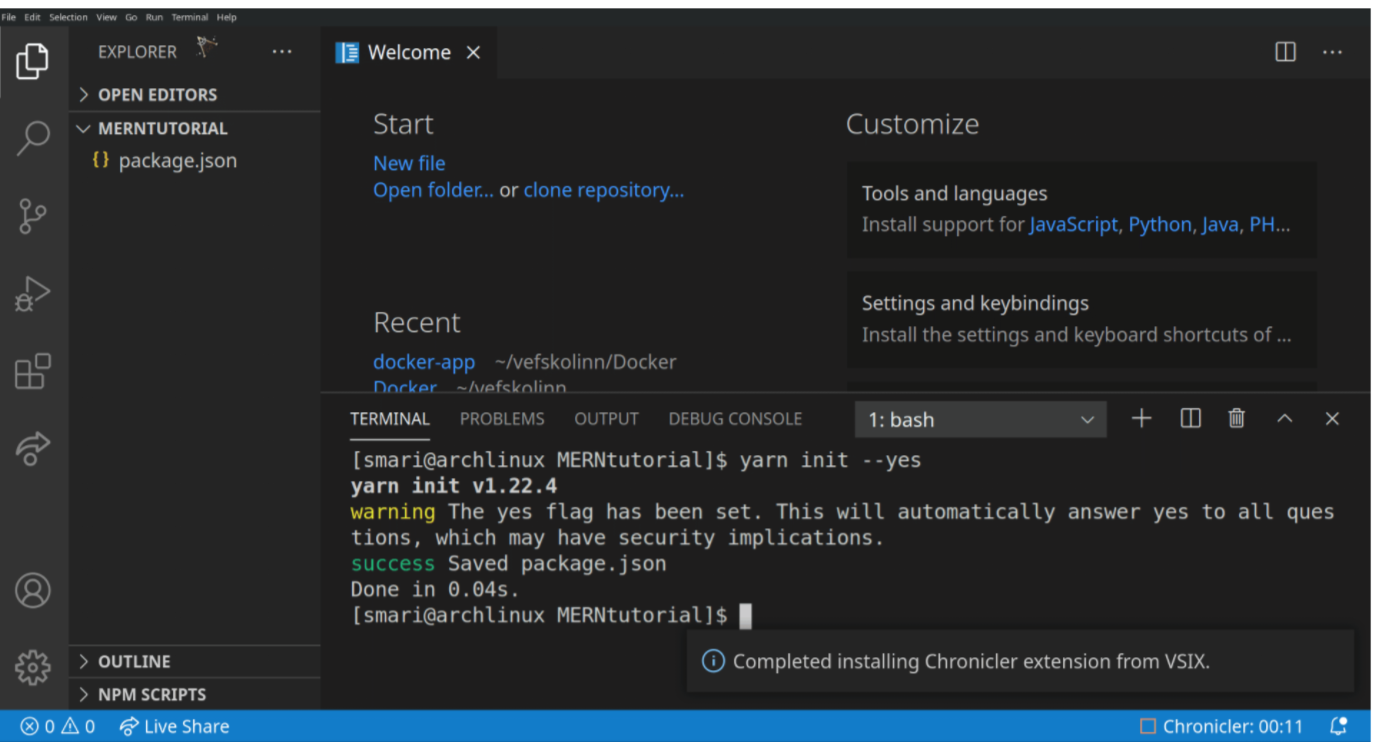
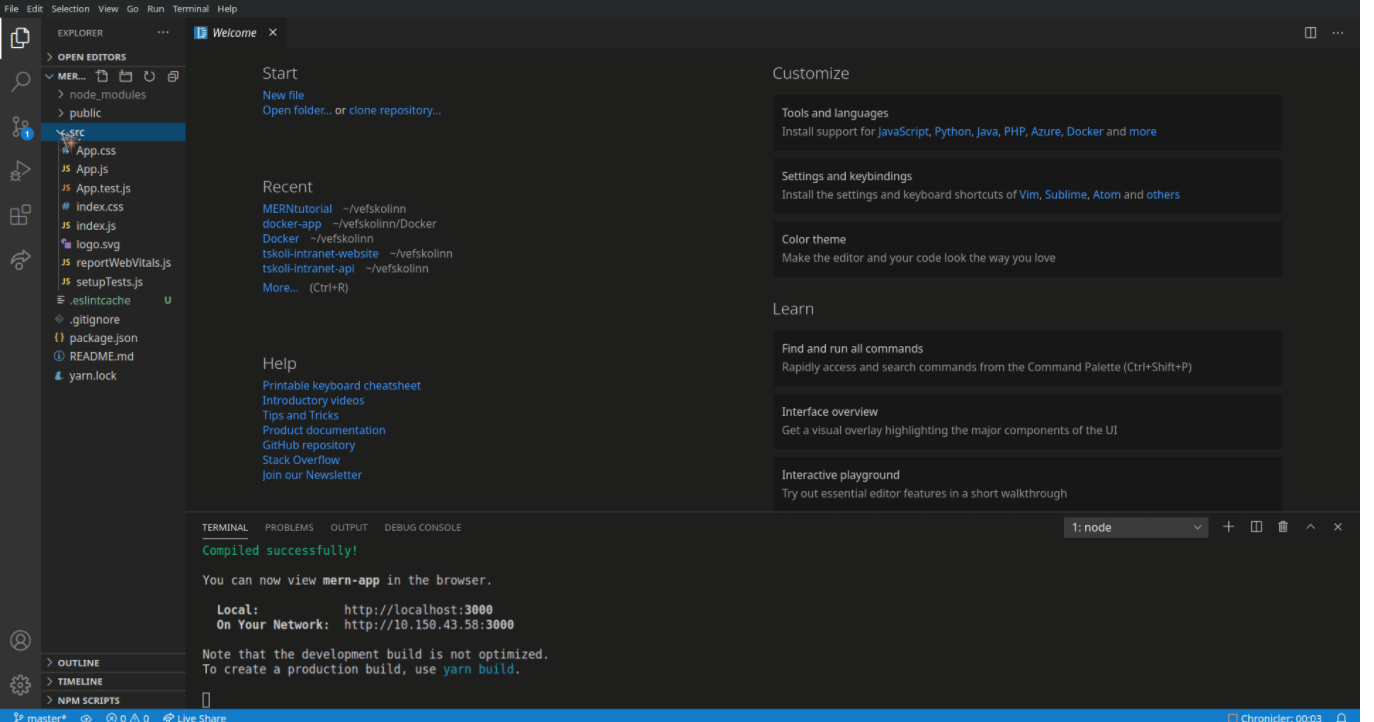
Let’s start by opening up VScode in an empty directory. I do this by opening the directory in my terminal and writing code . . From there I open the terminal and run the commandyarn init --yes . This will initialize a new NodeJS project in our directory. When I run a command I type it in the terminal like shown below. In the future I will just state that I run a command and this is what I mean by that:

If you see a package.json file in your directory that means that the command has ran successfully. If not you might want to try to run it again. Now let’s practice commands in the terminal. If you run the command yarn add express you will see that something is installed and if you open the package.json file you should see a line like this "express": "^4.17.1" . This means that Express has been successfully installed. This is how simple it is to install new modules with yarn.

Next I create a new file called server.js:

In this server.js file we will write all the code that belongs to the server (NodeJS will run this file with the code we write for MongoDB and Express).

Express — Hello World:

Let’s start by creating a Hello World application in Express (see code below). Now that we have it installed we just need to require it in our server.js file, listen to a port and listen to a get request. If we want to allow the front-end to access our api with fetch we need to allow that too. We can do this by installing a simple middleware module for Express called cors and use it.

Finally we run the command node server.js in the terminal And this is what it all looks like:

And here is the code so that you can copy it if you want:

From now on I will not take screenshots of VScode but rather post the code like this so that you can copy it from here.

Now that we have our server running we should be able to go to this link and see our hello world: http://localhost:5001 . If you see a “Hello World!” when you visit the link you have done everything correctly and you have made an Express app, congratulations!

MongoDB — Hello World:

Our next step here is to create a database and since we are using the MERN stack our choice is MongoDB. The simplest way to set up such a database is to go sign up for the free cloud database at MongoDB Atlas.

The First time you sign up there you will be asked to go through a few steps to set up your account. In one step you are asked to choose your preferred programming language and there you can choose JavaScript. Other than that you can write/choose what ever you want.

Once you have done that you will arrive to a page that looks like this:

Select the areas marked with red circles. Select a username and password and click Create User. To get the IP Address that you need to put into the IP Address field at the bottom, you can google “what is my ip” and it will show you something like this:

When you have entered your IP Address and given it a name in the description (if you are at home a good idea would be to put “home” in the description, if you are at school you can put “shcool”) and clicked the “Add Entry” button you should see the IP Address there below. If you see it there you can continue by clicking the “Finish and Continue” button in the lower, right corner. You will get a pop-up window where you can click “Go To Database” where you will be greeted with this window:

There you will be presented with three options, choose the one in the middle with the title “Connect your application”. Now you will be presented with instructions on how to connect the database to your application. If you tick into the box next to “Include full driver code example” you will be able to copy exactly the code that you need:

Now that we have the code we paste it into our server.js file after the line where it says const PORT = 5001; . The next step is to replace the part in our code where it says “<password>” and write your own MongoDB Atlas password there. You will also need to replace the part where it says “myFirstDatabase” with test but that is going to be the name of our first database. Now there is still one more thing we need to to before we can go on and create our database and that is to install the mongodb module. But as mentioned earlier installing a new module is an easy task. Simply type yarn add mongodb in your terminal (you might need to stop the server first but that is done by holding in the “Ctrl” key on your keyboard and pressing “c” at the same time). To make sure that the module has been installed you can check your package.json file and see if you can find it there. If it is not there you should try again.

Now let’s turn back to the MongoDB Atlas page. If you close the modal you will get back to the page where we started. This time we want to select the Browse Collections button. This will take us to a page that looks like this:

You will get a pop-up offering you to use demo data or add your own. Since we are trying to learn how to make our own database you should click “Add My Own Data”. Now let’s name the database test and the collection devices (like it reads in the code that we copied here above) and click the green button that says “create”. Now the database will appear in the list on the left. You can open it by pressing the small gray arrow in front of it’s name (test) like so:

Now if you click “devices” you will get up the view that we can see here above. Now let’s add two documents to the collection by clicking the “INSERT DOCUMENT” button that you can see there on the right side. You will get a modal looking like this:

There will be and _id property already filled in by default but then we can add more properties. Let’s add one called greeting that holds the walue “Hello World MongoDB” like you can see above and then press the green button that says “Insert”.

If you have moved your server (in this case your computer) from one house to another (for example to the school) you will need this step:

Allow the ip address from our server. In this case it is probably just your own computer. Then we can click the “Network Access” in navbar on the left shown with a red circle on the picture here below:

And then you click the green button there in the middle. After that you can click the “ADD CURRENT IP ADDRESS” and then the green button in the lower right corner where it says “Confirm”.

Now that you have all your settings ready we just need a small adjustment to the code and then we are ready to go! Let’s open our server.js file and move the client.connect function into the app.get function. We will need to add the async keyword in front of the function inside the client connect function like this client.connect(async err => { . Then we will fill in the required things below the comment that says: “perform actions on the collection object”. There are actually only two lines that we need to add. In the first line we will get the data from our collection (the “Hello World MongoDB” from the “devices” collection). The line will look like this const data = await collection.find().toArray(); . The find() method is the way to get data from MongoDB we can get all the data available by passing no arguments to the find function. MongoDB will return an object that looks a bit like an array but it is not a real array and that is why we turn it into an array by calling toArray().

Now to finalize it we just erase the client.close() because we don’t want to close the database each time someone comes to visit our page. Then we also want to erase the res.send("Hello World!") line and call res.send(JSON.stringify(data)) from within our client.connect function. This is now possible because we moved the client.connect function inside app.get and from there we have access to the res object. As we recall that data is an array and since we can only send strings between client and server we need to turn it into a string first by calling JSON.stringify. If you now write node server.js in your terminal and then go to http://localhost:5001 you should see there the data coming from the database along with the message “Hello World MongoDB!”

After all this the code in server.js should look something like this:

Congratulations! Now you have got the M, E and N from the MERN stack. From here you could still decide to go with the MEAN stack and use Angular in the front end or even the MEVN stack and use Vue.js. But we are going to use React to finalize this tutorial.

React — Hello World:

Now that we have the back end up and running we can just go a head and create a totally new project for ourselves in a completely new directory. It could even be stored on a different computer but in this tutorial we will assume that it is stored on the same computer. It is simple to start a new react app. Just open up a new terminal (it is important to keep the other terminal running so that the React app can connect to it) in the directory you want to have your project ( remember that it will create a new directory so you will probably not want to be in an empty directory when you create the app). Now we just follow the instruction given by the create-react-app project:
write npx create-react-app mern-app to create the app and then open the new directory by typing cd mern-app now you can write code . if you want to open up the project in VScode. Next type yarn start to start the app. Now you can navigate to your App.js like so:

As you can see there is some code there already but we can just take it out and leave the App.js file looking like this:

But now we want to get the “Hello World MongoDB” from our database and display it there in place of “Hello World React!”. For this we will need to import two things from react, namely the useState and useEffect hooks ( you can read more about React hooks here ) . Then we will need to use the hooks accordingly. After adding all this to our code it will look something like this:

Tada! we have got the data from MongoDB, through Node.js and Express all the way to our front end in React. Congratulations on finishing this tutorial and having a full MERN stack!

Final words:

This is a good way to get started but there is a whole lot more to explore. To continue from here I recommend you to tinker a little bit with the code. Try to add a new collection, add more documents to the collection etc. When you feel that you are familiar with how the code works a good next step would be to read some documentation. You could start with MongoDB or Express or React or even NodeJS and try out some new functions and methods. There are also loads of other tutorials out there who teach how to do specific things with the MERN stack. This is just the start of a huge world of opportunities and things to create…

If you get stuck on any of the steps of this tutorial please let me know so that I can fix it and make it better. Also if you spot some errors I would be very thankful if you let me know so that I can fix them.


Only registered users can post comments. Please, login or signup.

Start blogging about your favorite technologies, reach more readers and earn rewards!

Join other developers and claim your FAUN account now!

Avatar

Ellert Smári Kristbergsson

Teacher, Vefskólinn

@ellertsmari
A developer and a teacher @Vefskólinn where I teach JavaScript and other web development related things
User Popularity
39

Influence

3k

Total Hits

1

Posts